Make a Continuous Loop Bowstring – Part 2
Note: Sorry to be slow in posting part 2. My camera bit the dust and I had to buy a new one before I could continue. So on with the show.
The second piece of equipment that we need to make our continuous loop bowstring is a string jig. This is so easy to build that you can probably make one faster than you can read this post. Material wise all you need is a six foot piece of 2” x 4” lumber, four pieces of 9/16” dowel rod with two of them being 7 inches long and two of them 4 inches long, four small nails (about 4 penny), and some glue. For tools you will need a saw, a drill, a 9/16” paddle-bit, a bit that is the same diameter as your finish nails, some heavy pliers that will cut the nails, a tape measure and a marking pen.
So let’s build this thing.
First you need to cut your 2” x 4” to a length of about six feet. This is assuming that you won’t have to make a string that is longer than 68 inches.
 Now at one end of the 2” x 4” you want to measure up and make a mark at 1 1/2 inchs and another mark at 3 1/2 inches. Try to keep the marks running pretty straight up the center of the board.
 Take your drill and 9/16” paddle bit and drill a one inch deep hole at each mark.
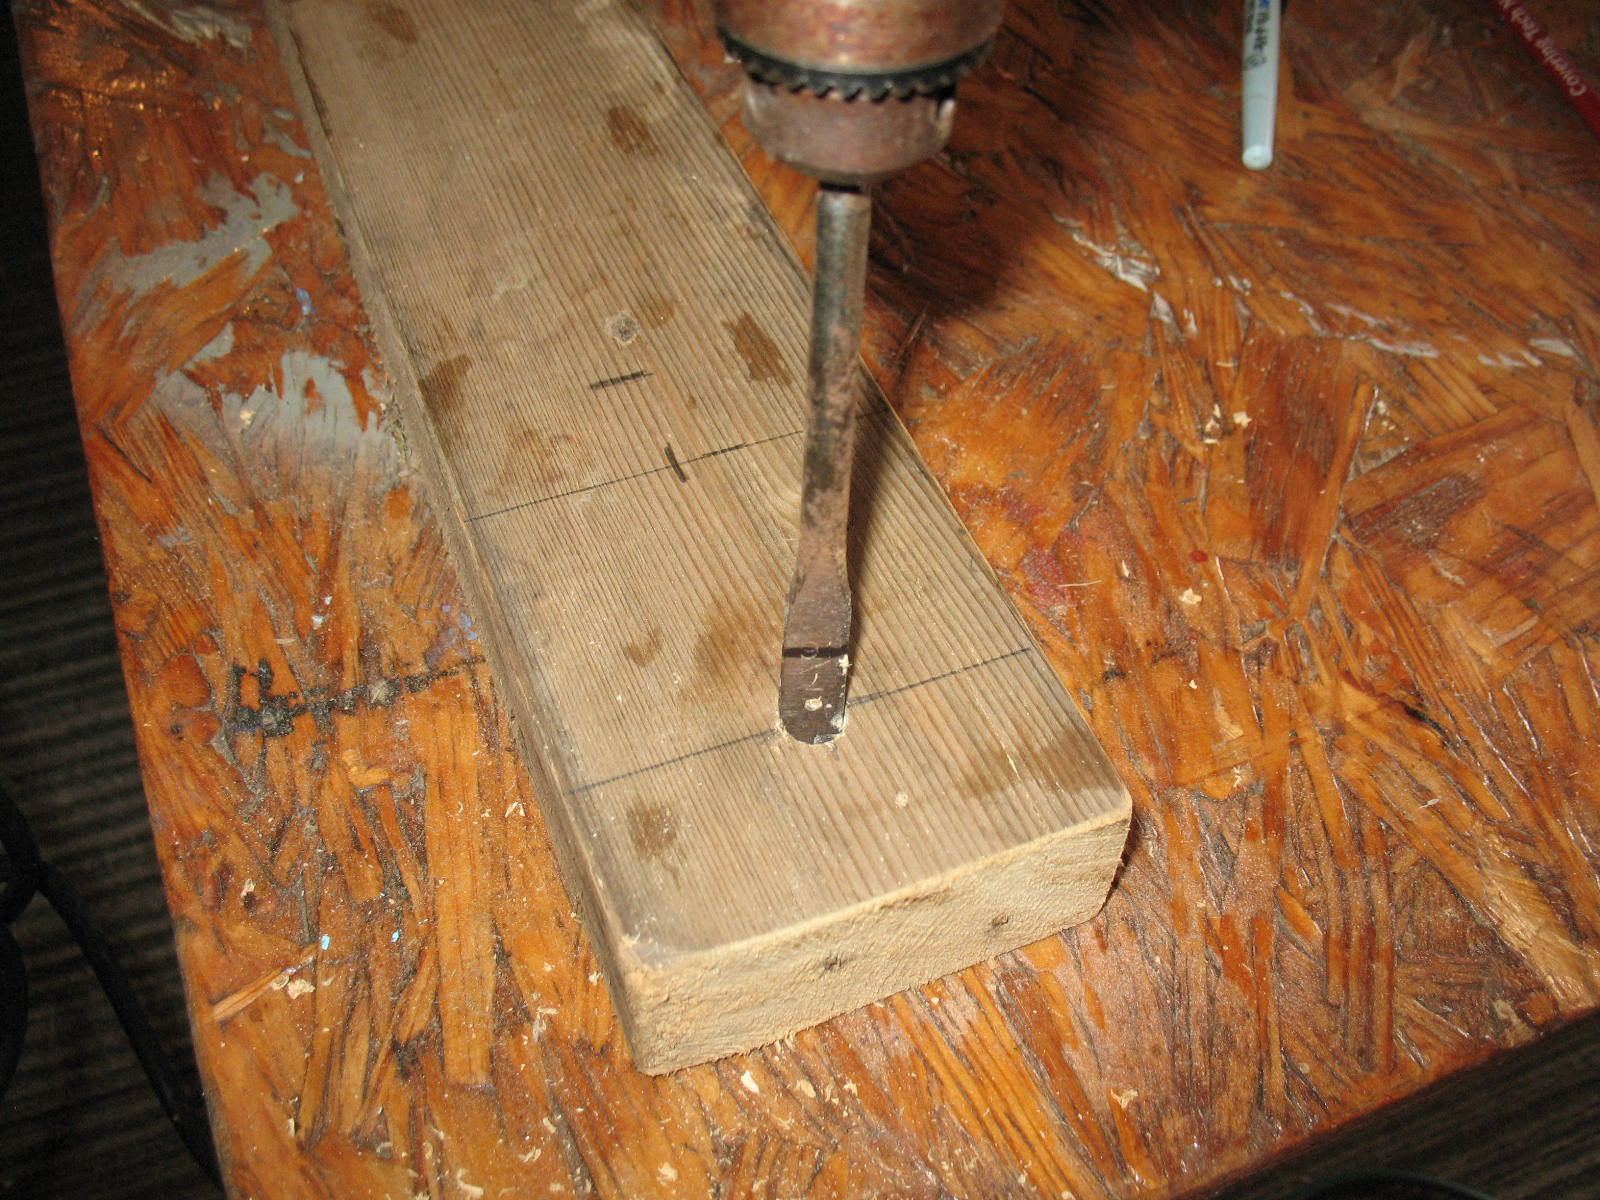 The second hole is where you will place a dowel to hold one end of your bowstring, so you want to measure from this hole on up the board to drill some more holes to make various different lengths of bowstrings.
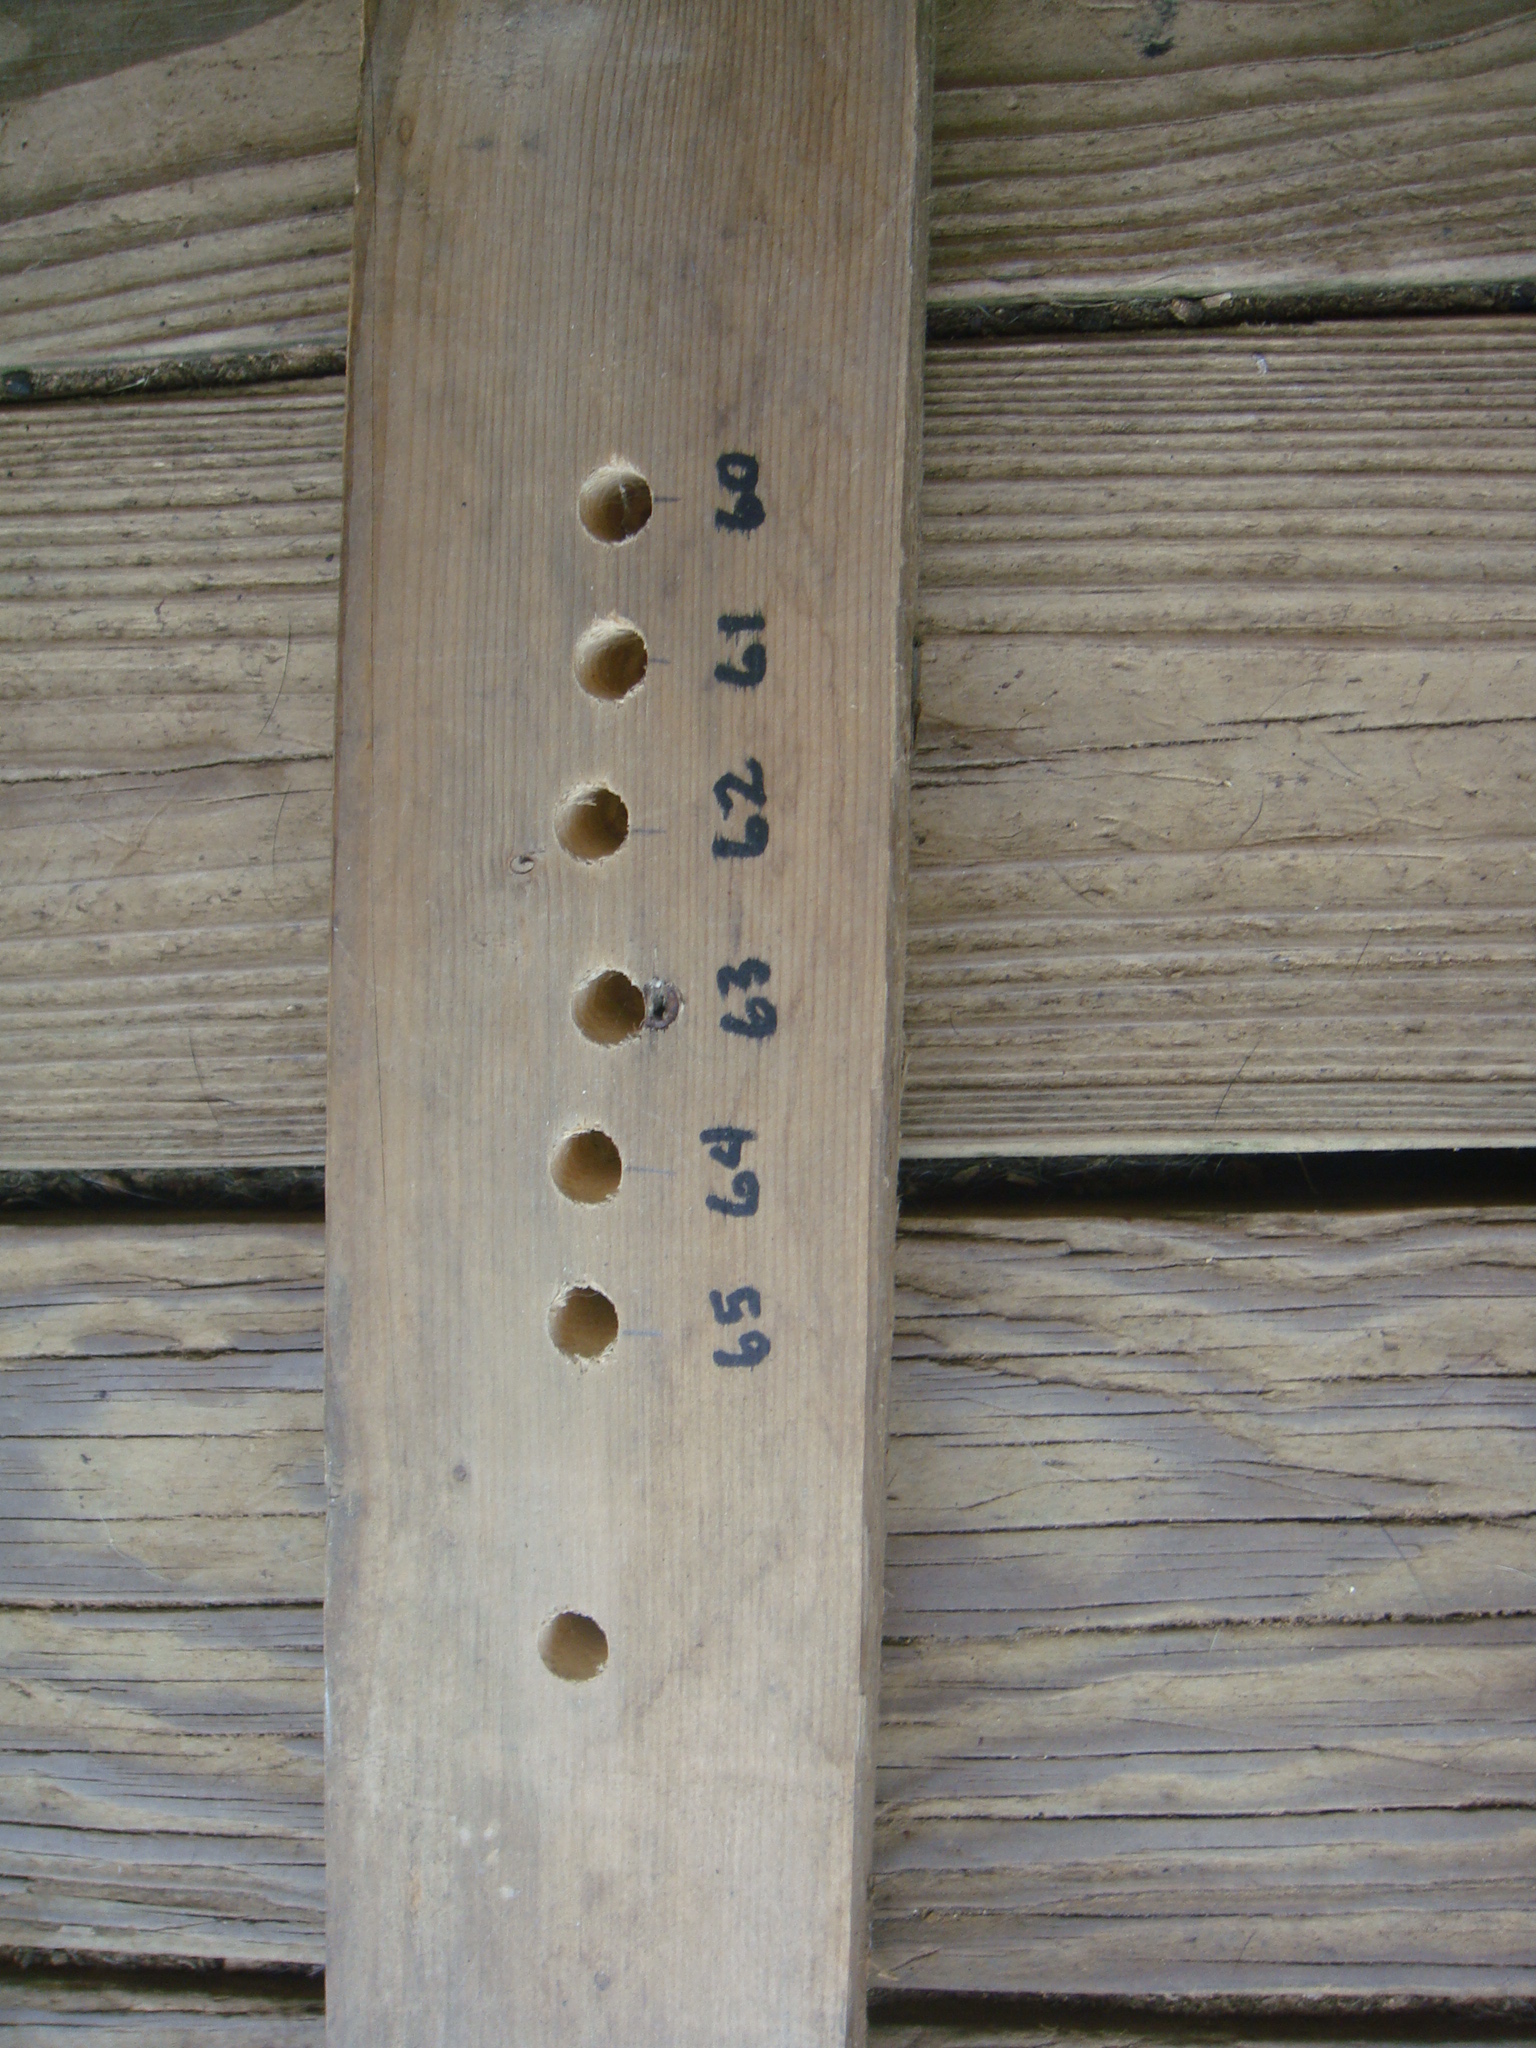
 I made holes for 60 through 65 inches. I drilled a few others at 22, 23, 24 and 44 inches so that I could make shorter bowstrings. It really doesn’t matter too much. If you need a different length string than you are set up for, it’s just a matter of drilling a couple of new holes. Notice that after the 65 inch hole I went up another two inches and drilled another hole. The reason for this will become apparent when we start building a bowstring.
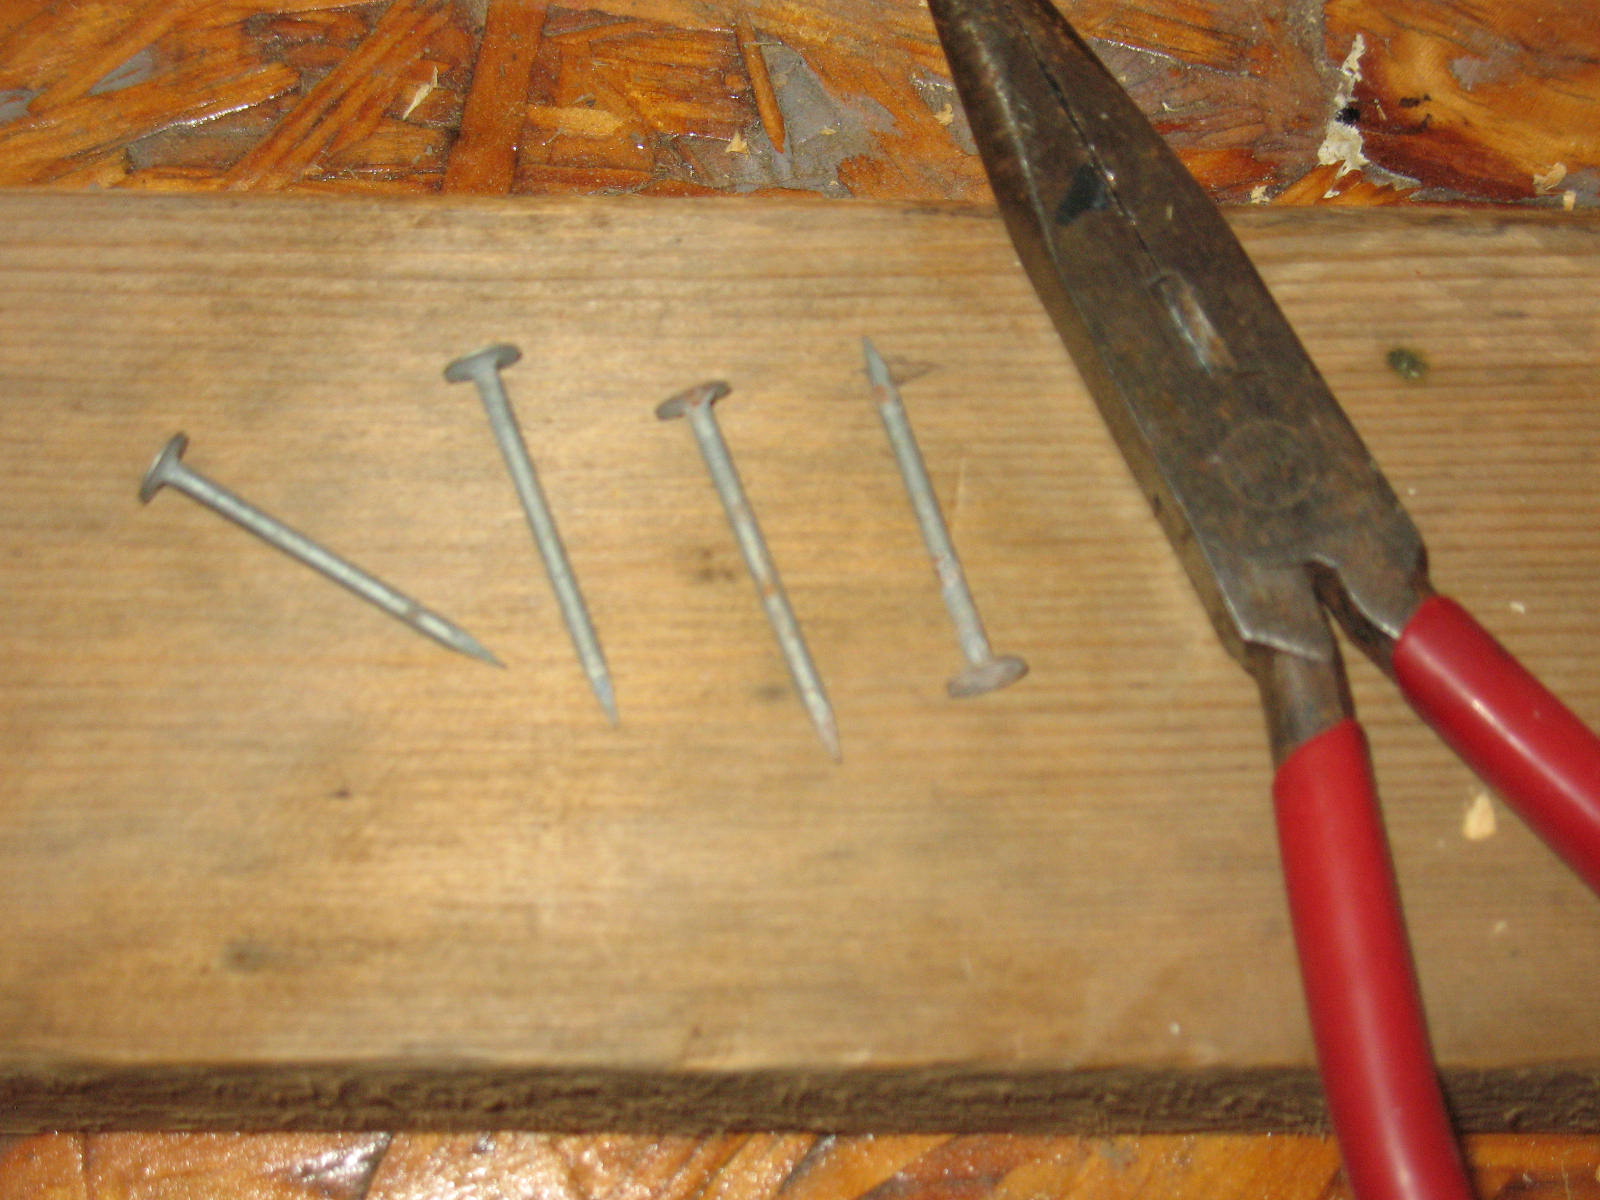
Now we need to get our dowel rods fixed up. We need to put a small cross pin in each of the dowels. The cross pins will be made out of our 4 penny nails.
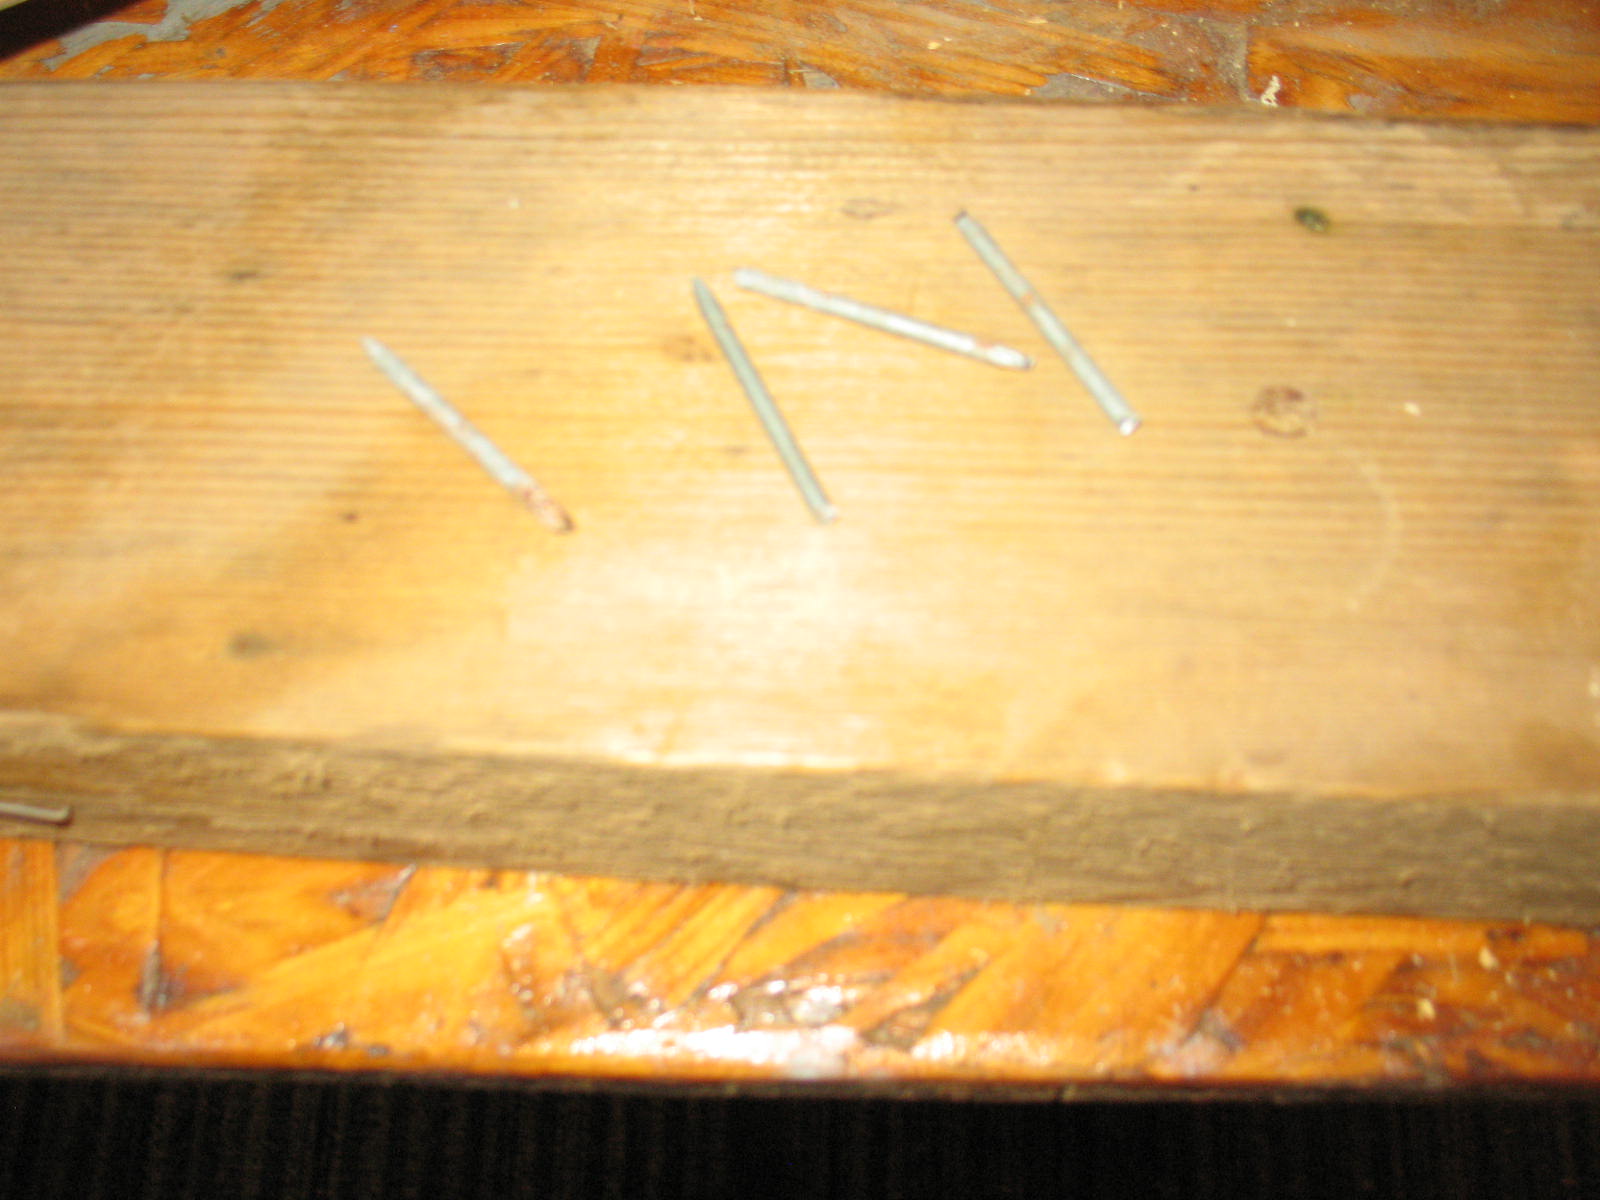
 First take your pliers or wire cutters and cut the heads off of the nails.
 Now use the small drill bit to drill a hole through each dowel about an inch down from the end.
 Insert one of your headless nails through each dowel so that the nail sticks out on both sides. If the nail is too loose in hole you can put a drop of glue in the hole to help secure the nail.
 The dowels that go in the first two holes that you drilled in your 2 x 4 will stay there permanently, so you can glue them in place. A short dowel goes in the first hole and a long dowel goes in the second hole.
 The remaining two dowels will be temporarily pushed down into different holes depending on the length of the bowstring that you making at the time.
 One other thing that you will need for your string jig is some string spreaders. The function of these will, once again, become obvious when we start building a string. I made my spreaders out of a couple of old paint stir sticks. The spreaders are about eight inches long and have a one inch long slot sawn into each end. The slots are about 1/8 inch wide.

 Now you’ve got everything you need to make a continuous loop bowstring. Next post we’ll build one.
