Putting a New Handle on a Sledge, Axe, or Hammer
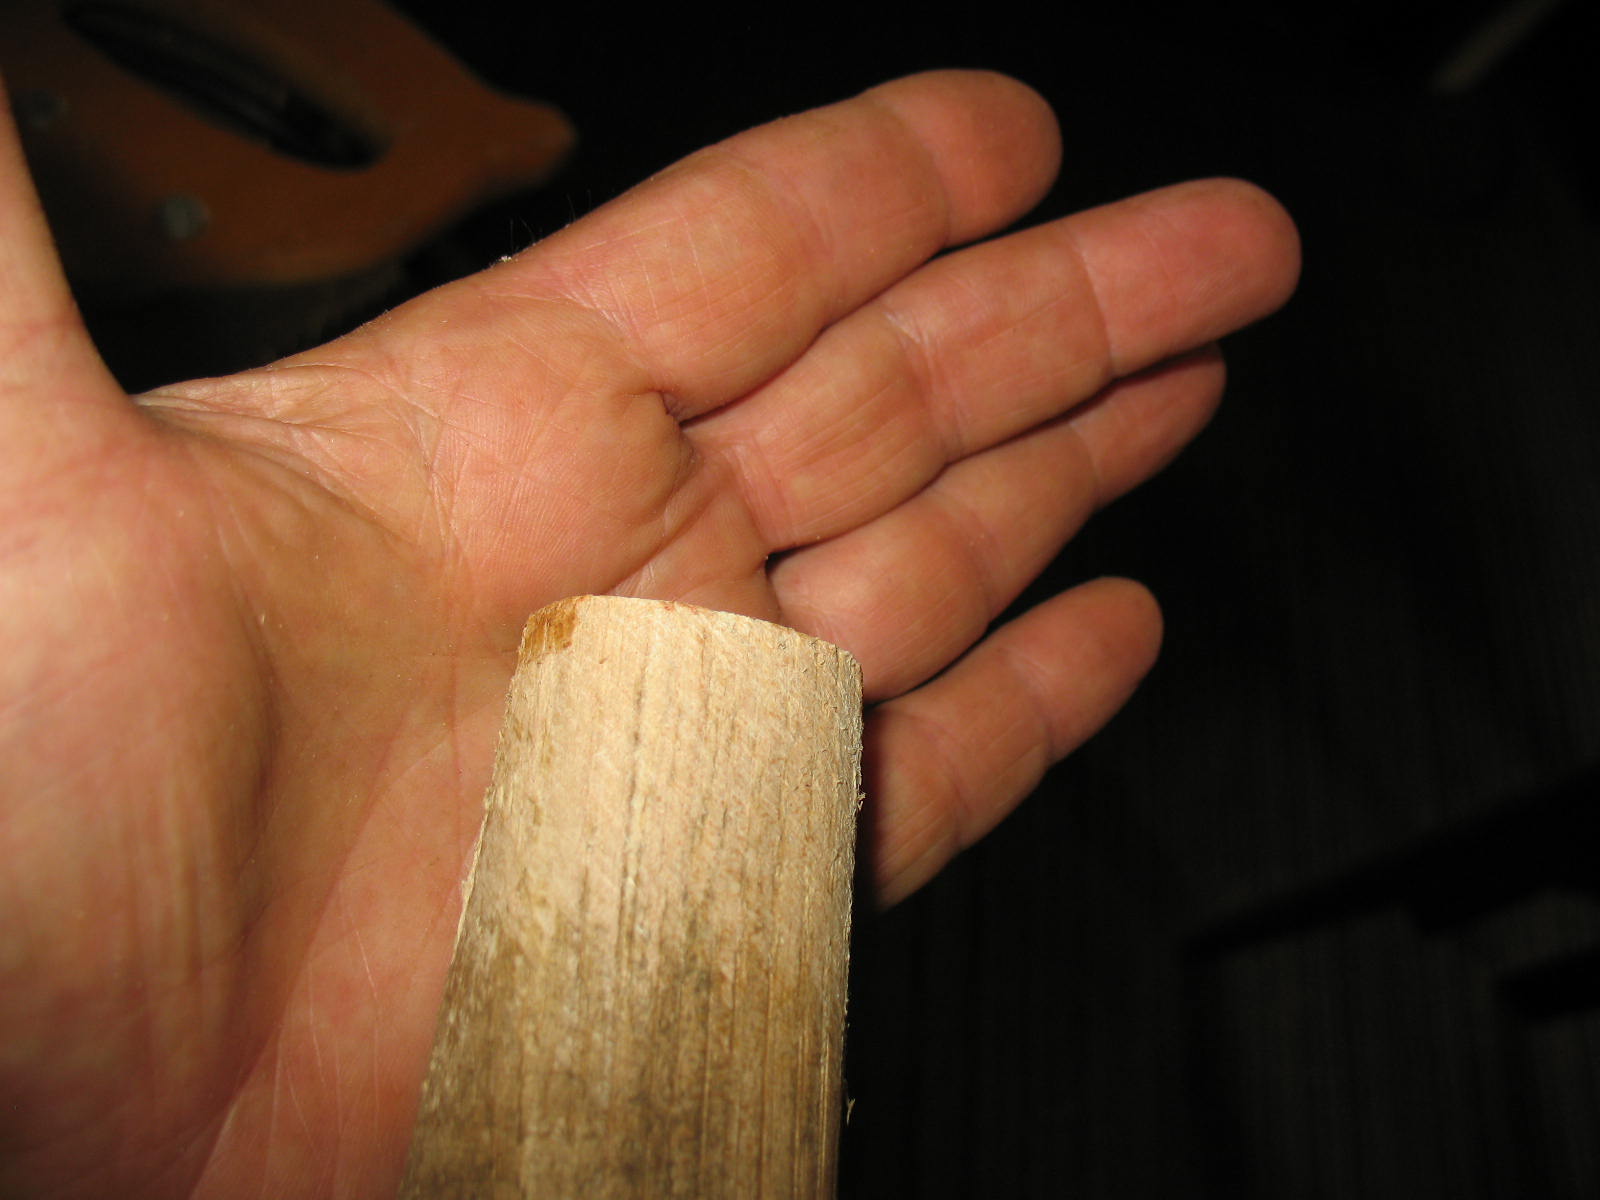
I use a sledge hammer for a lot of things on my farm. I drive t-posts with it, I bust up rocks with it, I split fence rails with it, but mostly I use it and a couple of wedges to make the first split on large blocks of oak that I am turning into firewood. Maybe you have better hand-to-eye coordination than I do; but every five years or so, my sledge handle ends up looking like this:
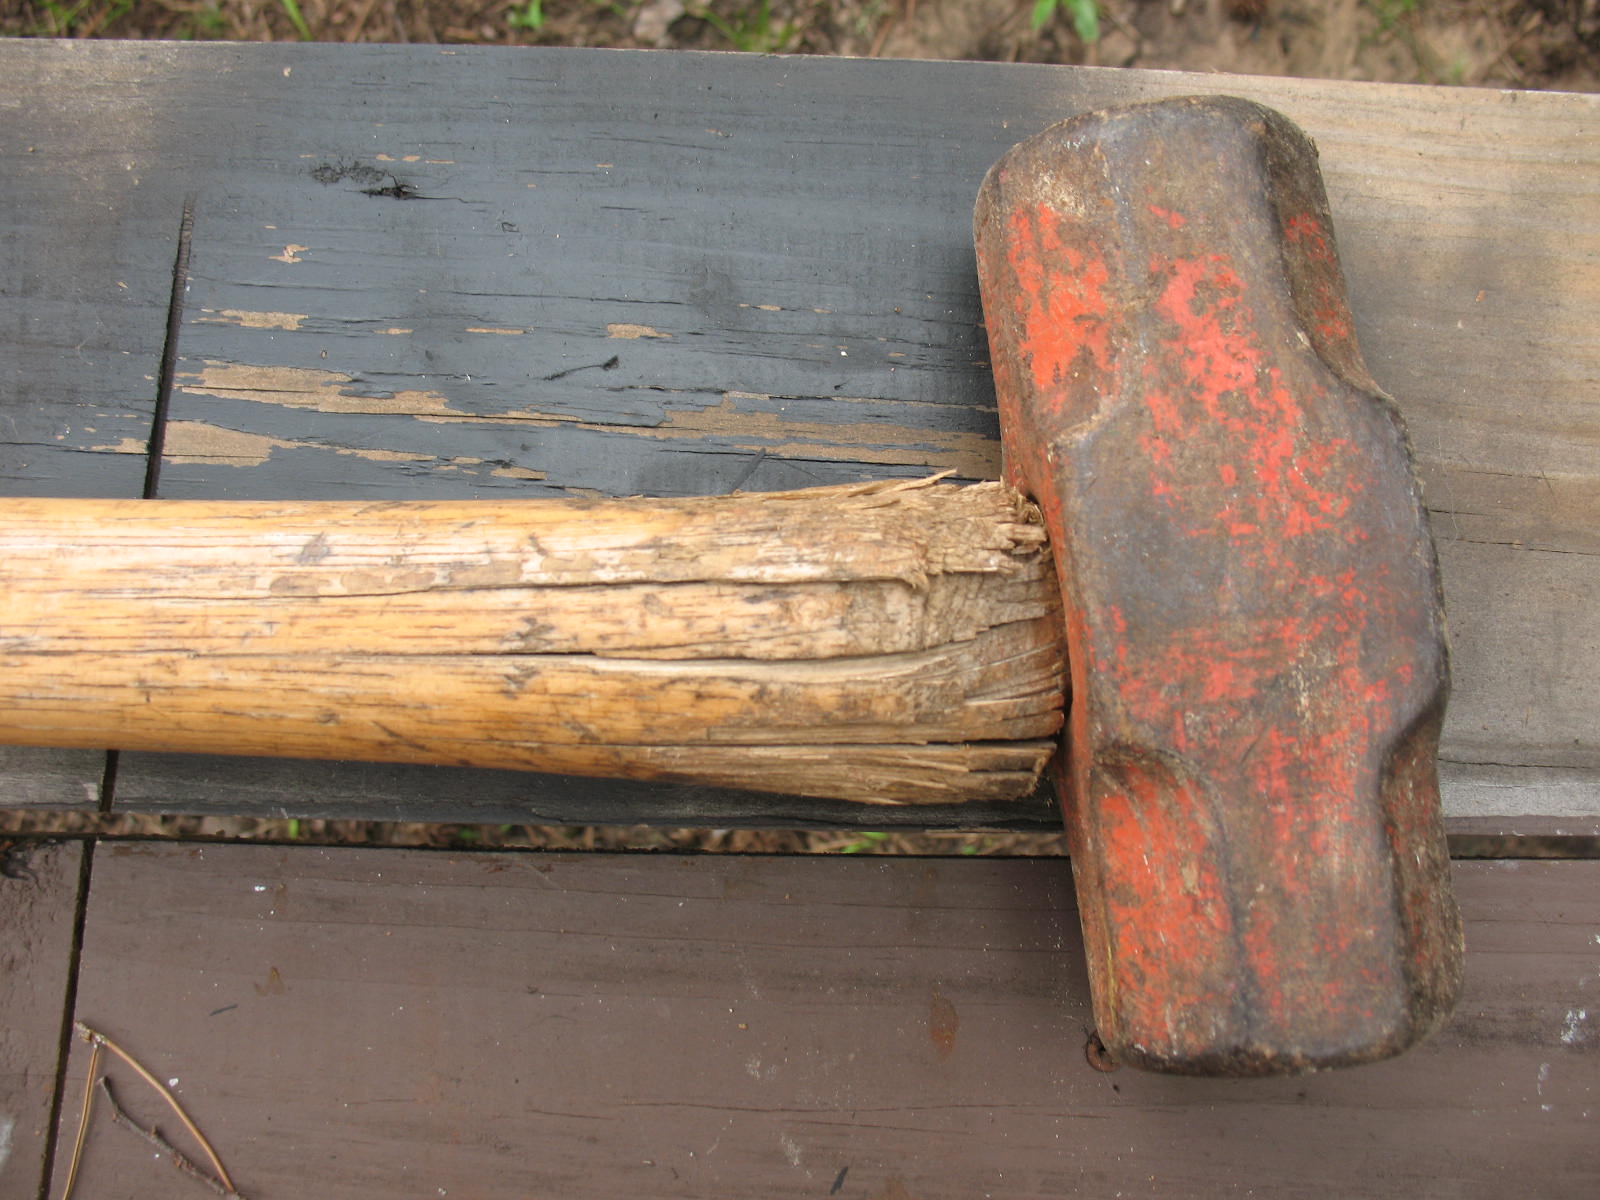
So, I find myself needing to put a new handle on it. The process outlined below is the same method used for replacing handles on axes, hatchets, and hammers.
Before you start you will need a new handle. You can make the handle, or you can buy the handle. Making a handle is considerable work. You must have the right kind of wood, usually ash or hickory, and you must have the wood already seasoned. I make or re-purpose handles for rakes, hoes, hatchets, hammers, and etc., but I prefer to buy handles for axes and sledges. The hardware store prices are way too high for me, so I always keep my eyes open at flea markets and garage sales for tool handles. If you buy handles this way you must know what you are looking for. You only want the ones that have straight grain, no cross-grain, no knots, and no cracks. Most of those guys at flea markets are selling factory seconds, so you really have to be choosey. I went to a flea market a couple of years ago and one of the sellers had barrels of tool handles. I must have looked at 200 tool handles, and I came away with two axe handles and three sledge handles.
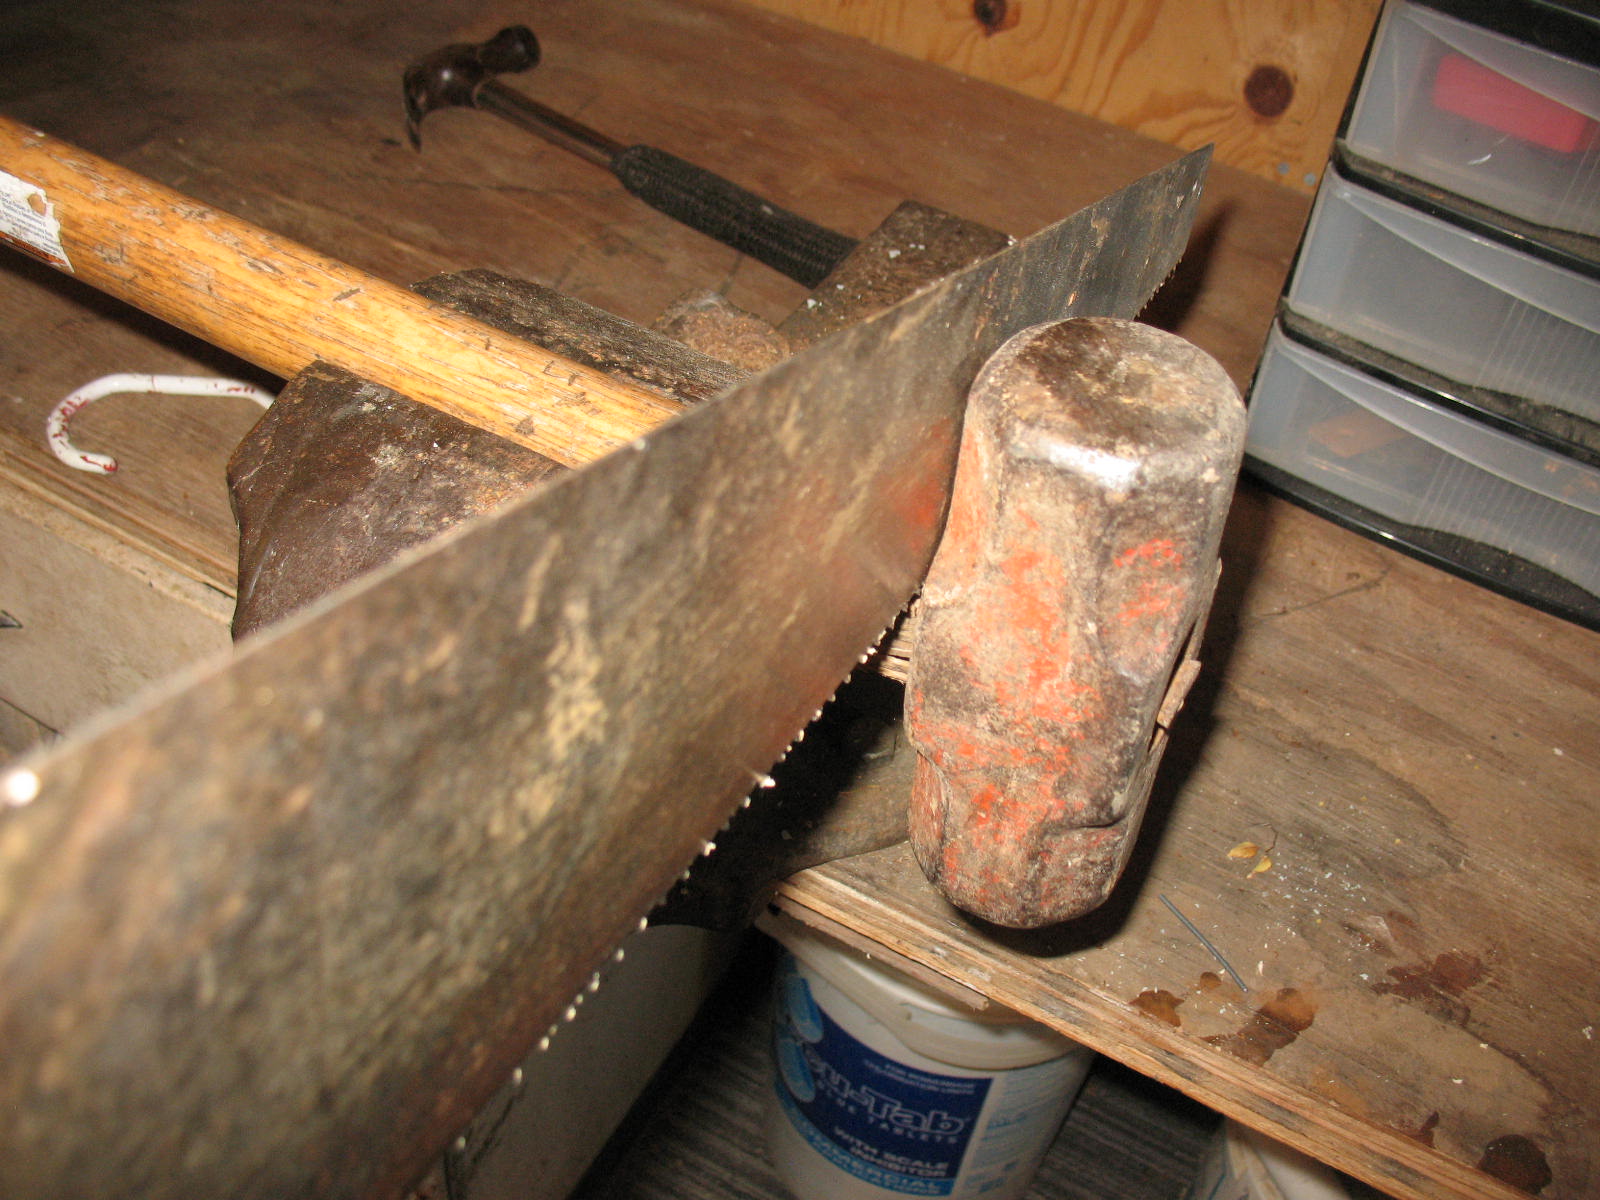
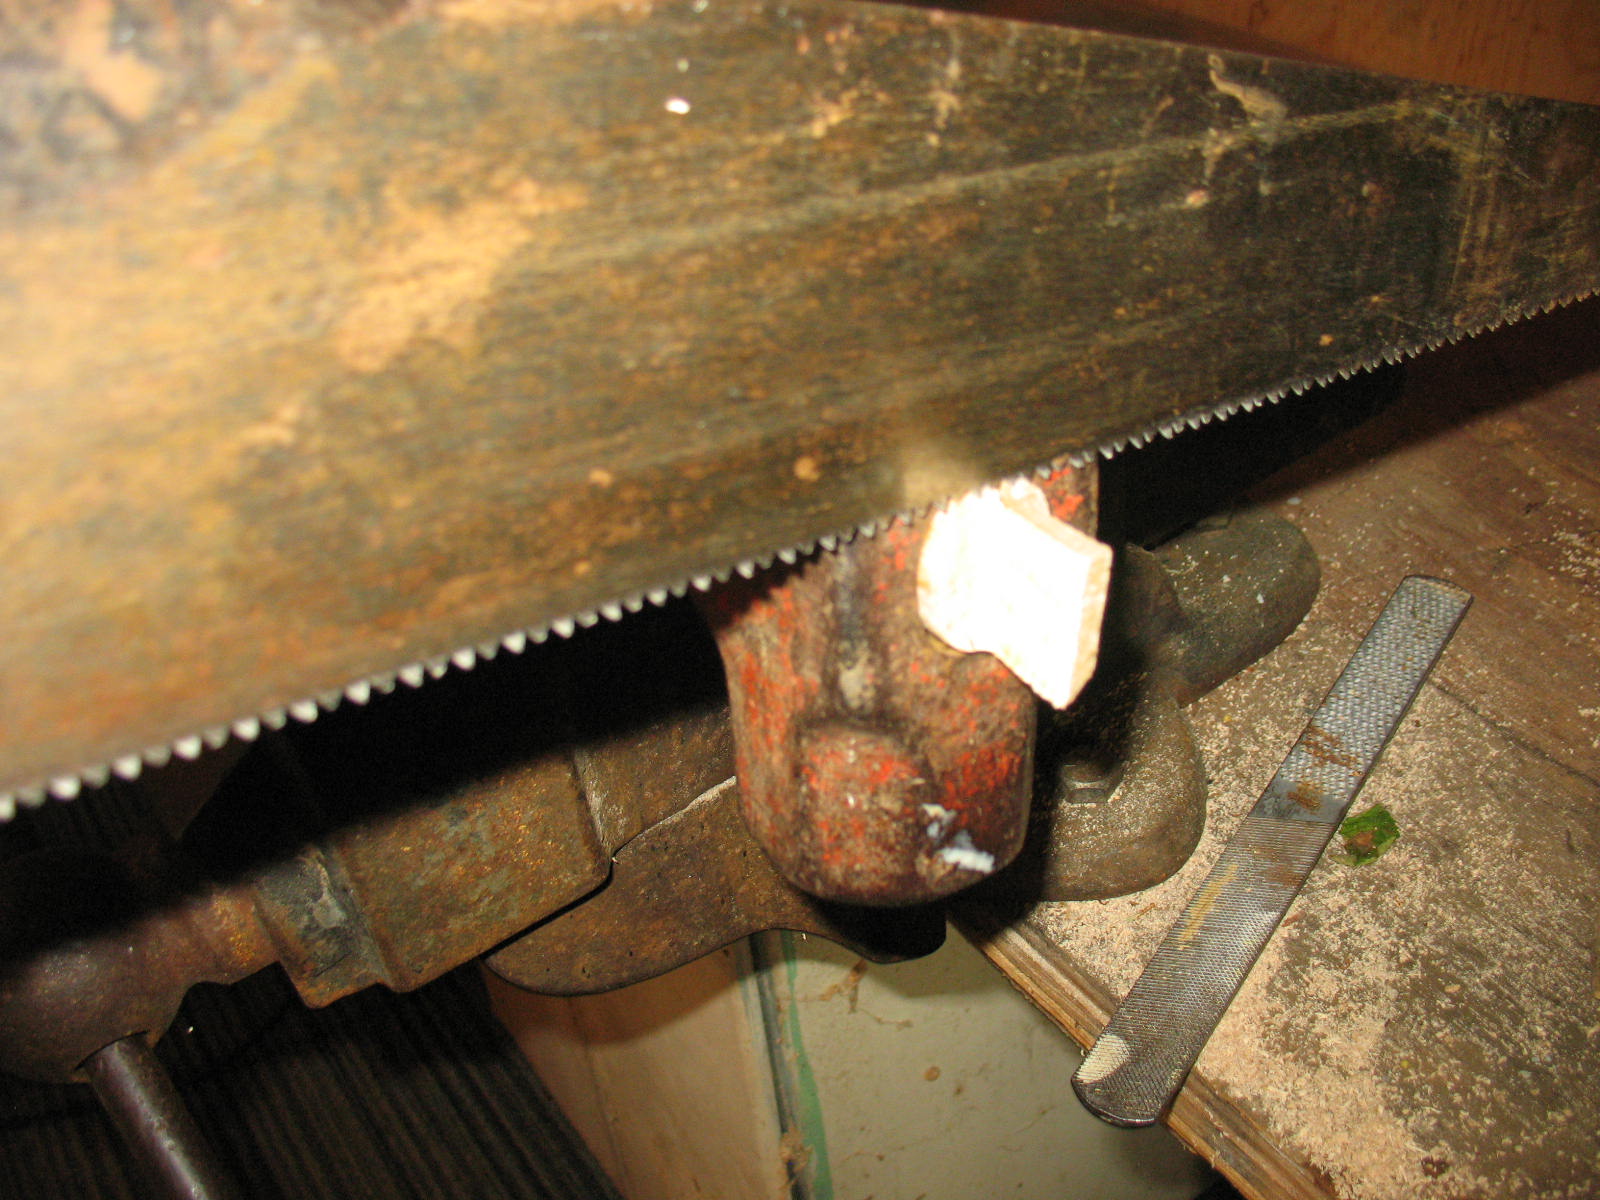
So now you have your new handle. First thing to do is remove the old handle. I clamp the sledge in a vise and use a hand saw to cut the handle off right at the base of the head.

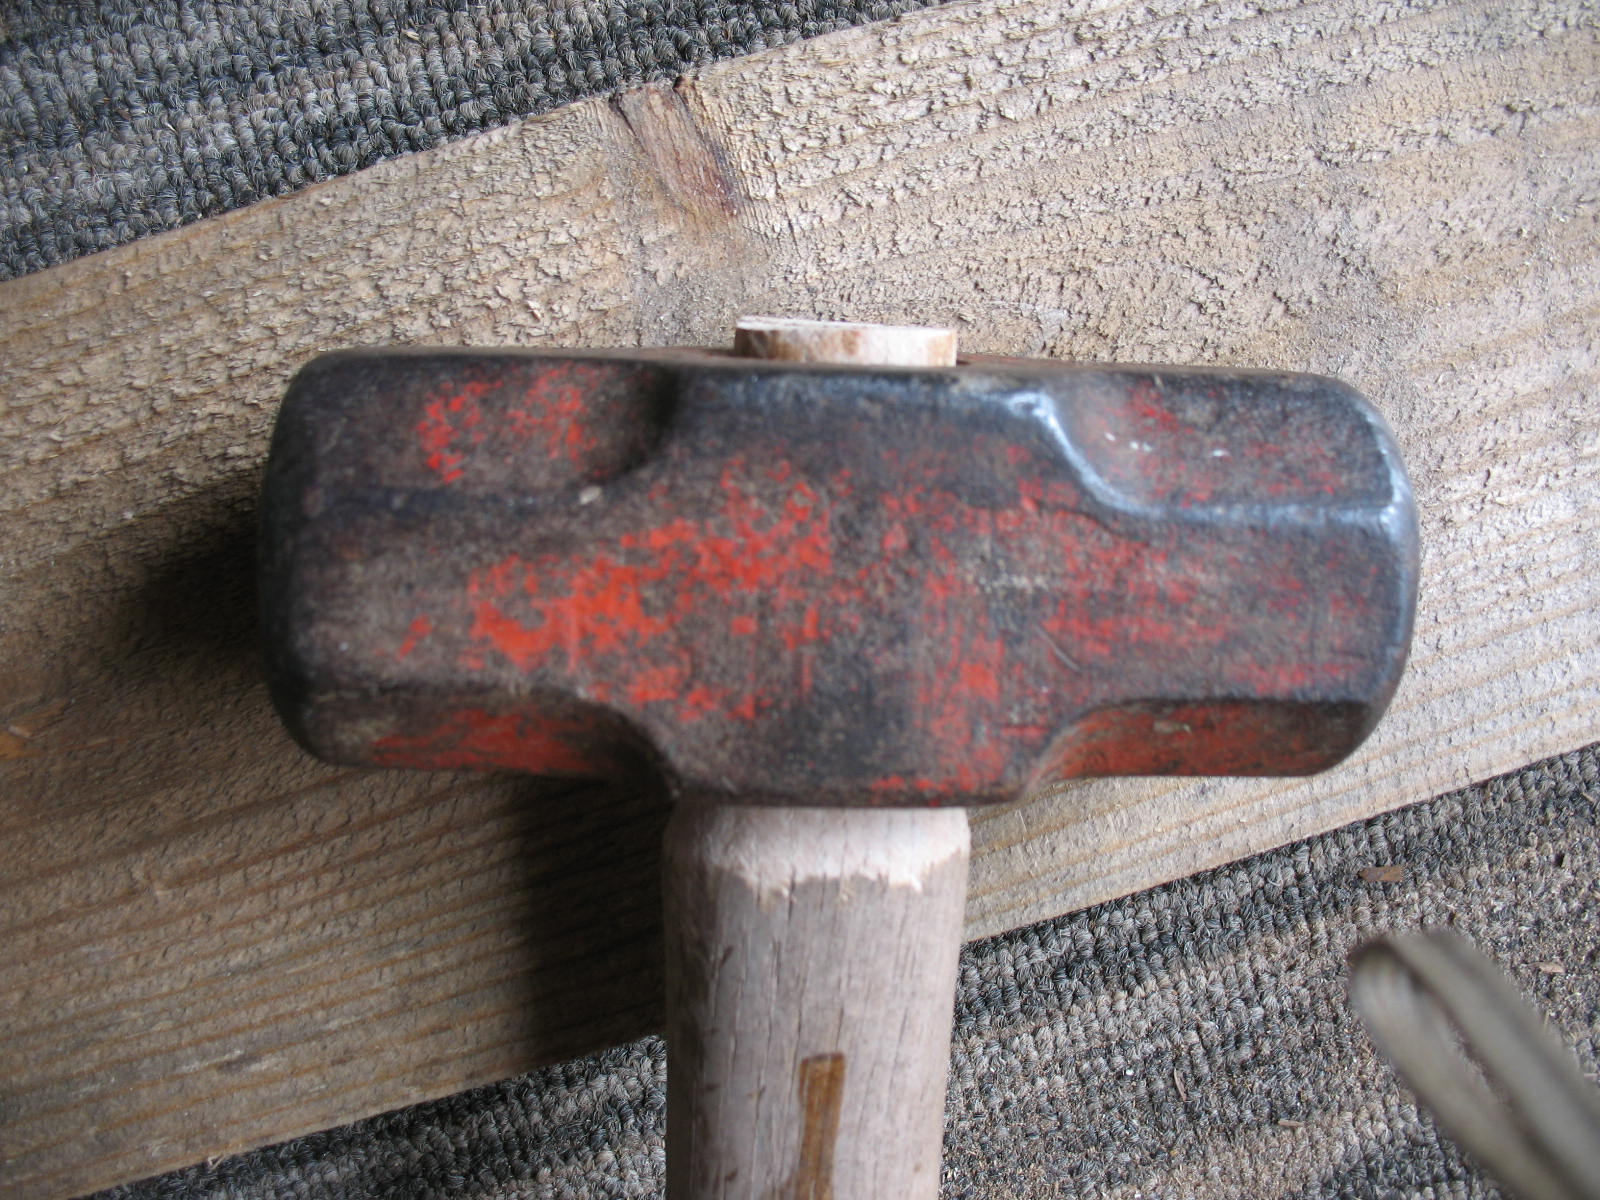
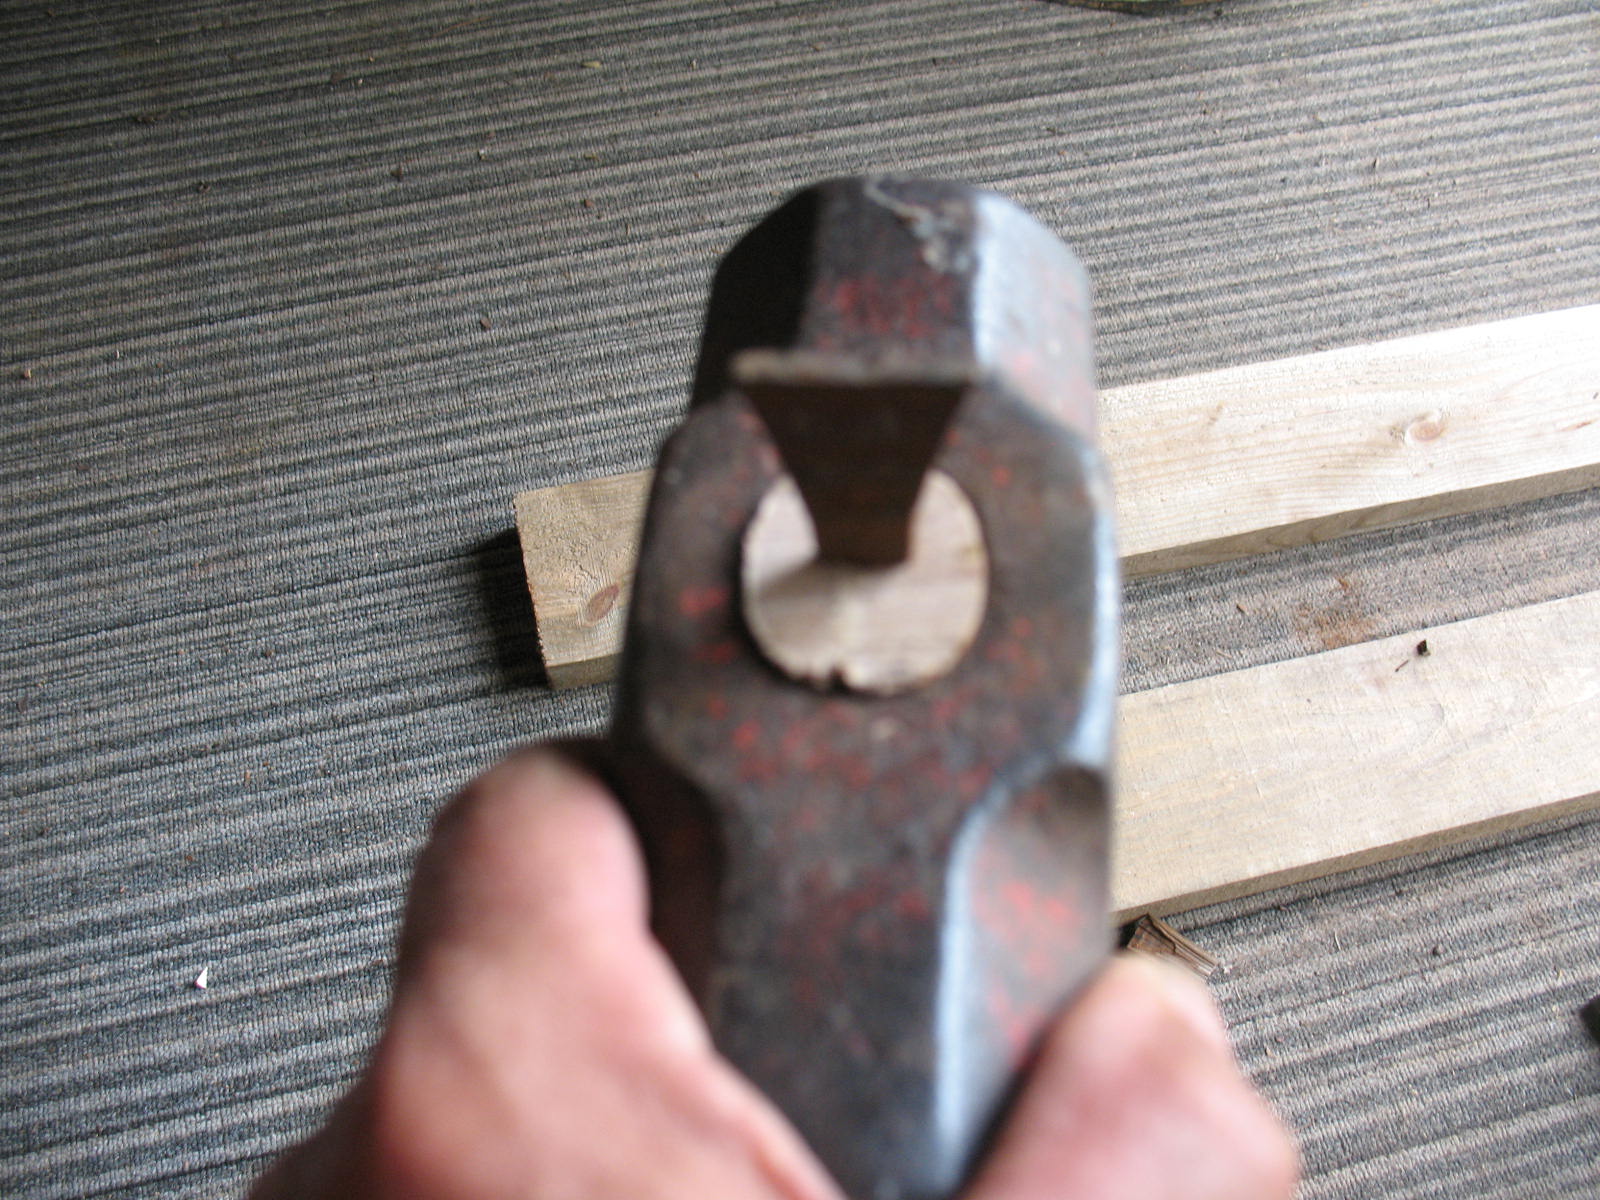
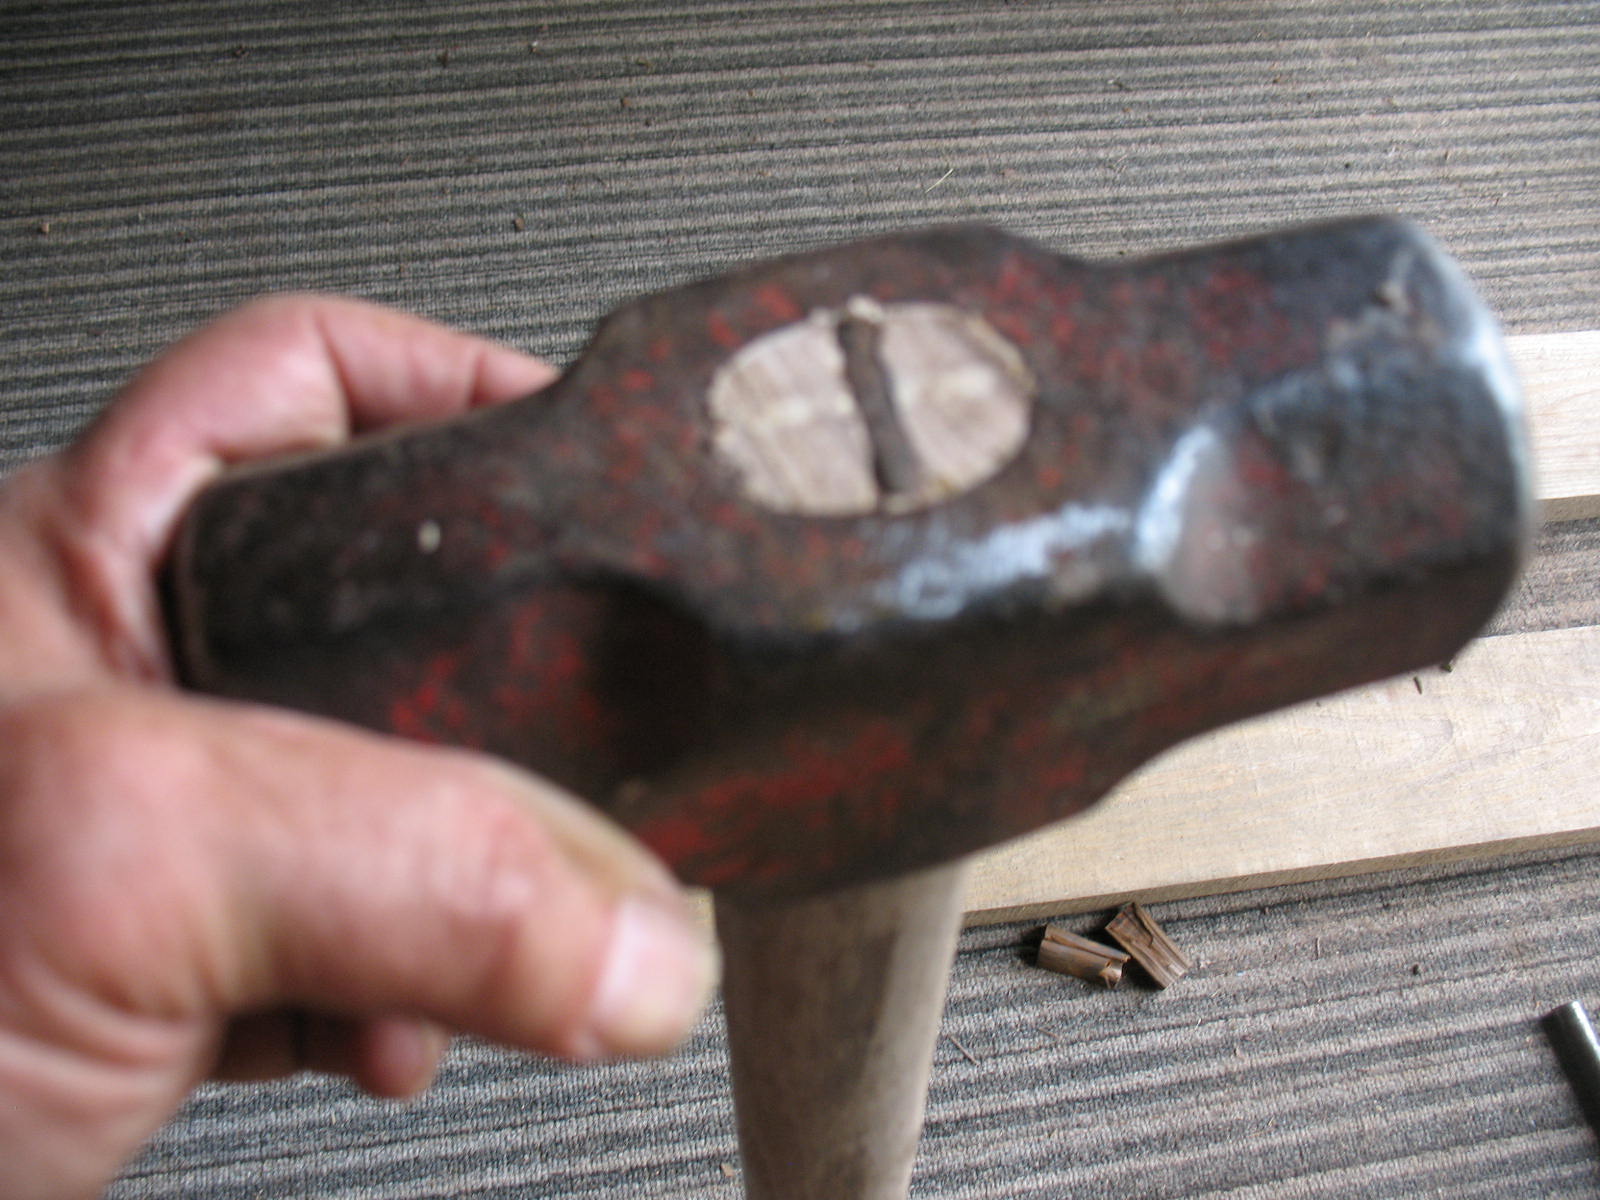
Then I set the head on top of two boards, top down, and use a hammer and a drift bar to drive the old handle out.

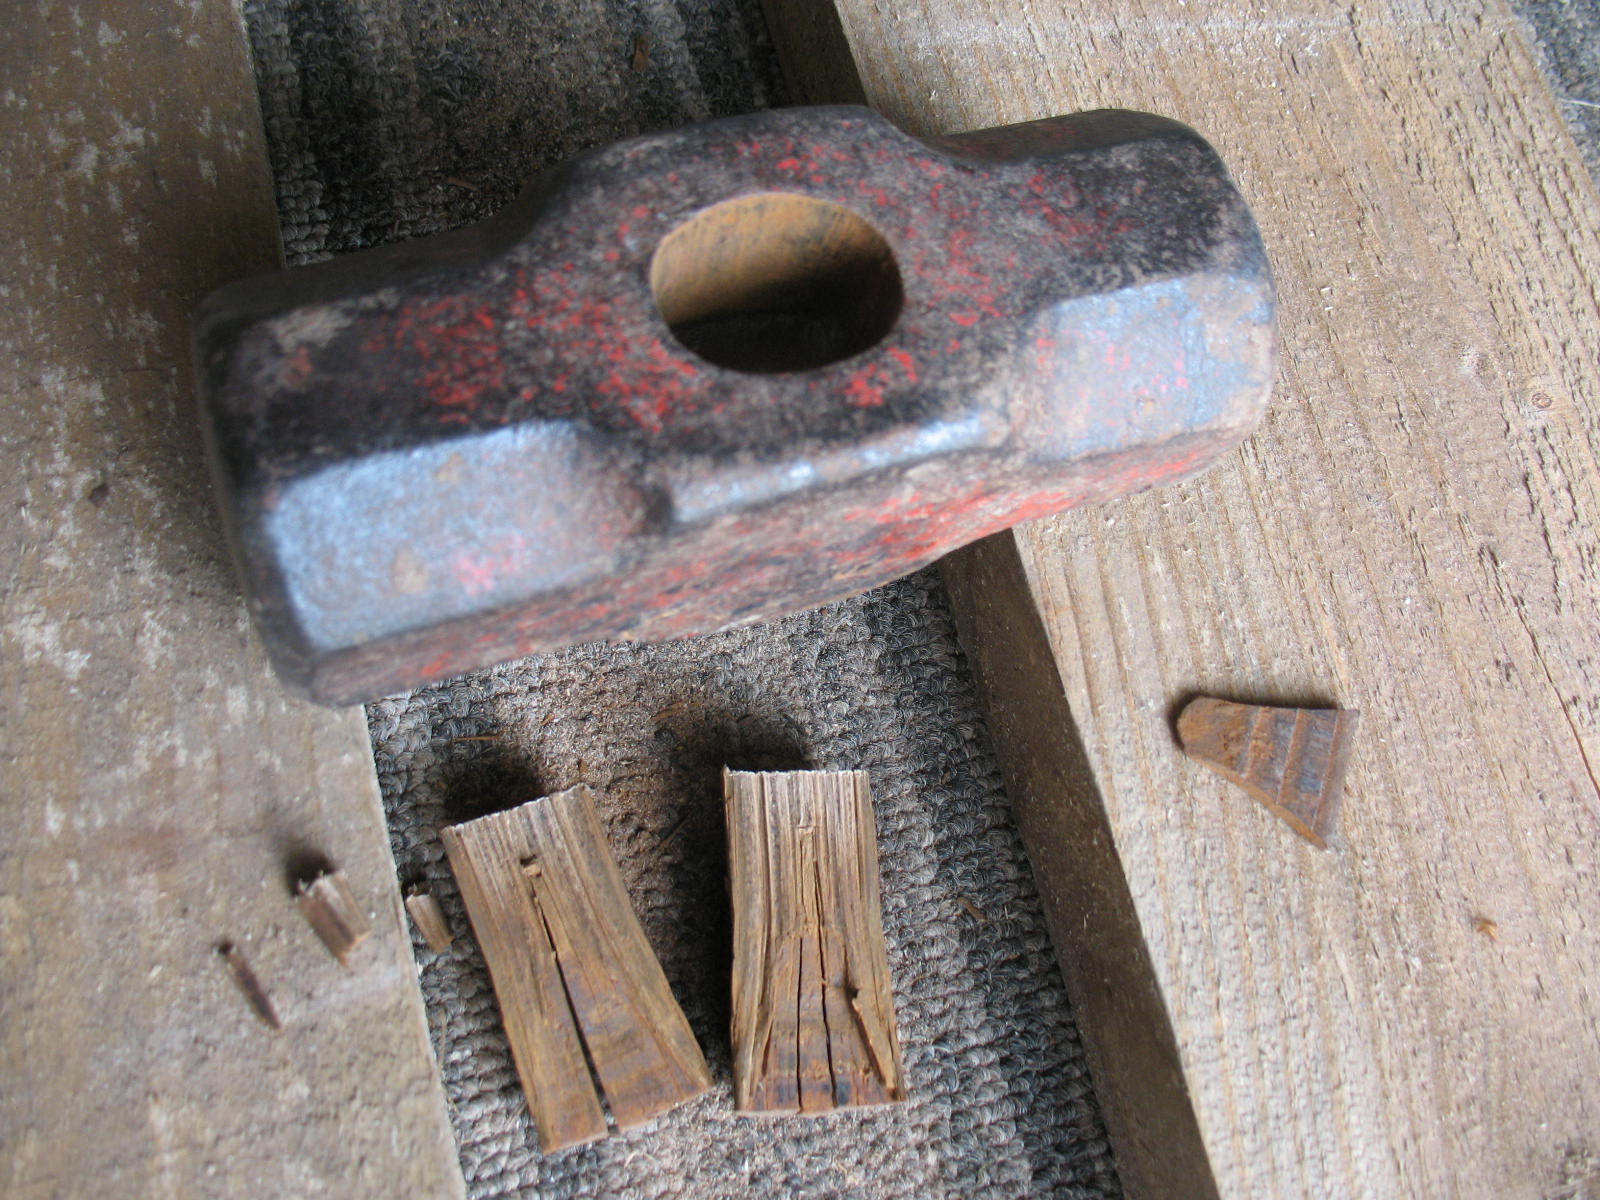
Be sure and save the little steel wedge that is in the top of the handle. You are going to use it again.

Your new handle will not fit into your sledge. It will be too long and too big around. You will have to shape it to fit. I lay the head down on the handle where I want it to sit at the bottom and then I mark the top for cutting. I always add a quarter inch to the length. You may need that quarter inch, and if you don’t you can cut it off later.


When you have sawed the top off of the handle, look at the slot that your wedge goes down into. It may now be too short. You want this slot to be about half the depth of you head, or a little more. If it’s too short, take your trusty hand saw and make it a little deeper.

Now comes the slow part; sizing the handle to fit into the hole in the head. The best way that I have found is to clamp the handle in your vise and use a wood rasp to slowly work the handle down. I rasp on about the top half-inch of the handle until the head will just barely fit on.
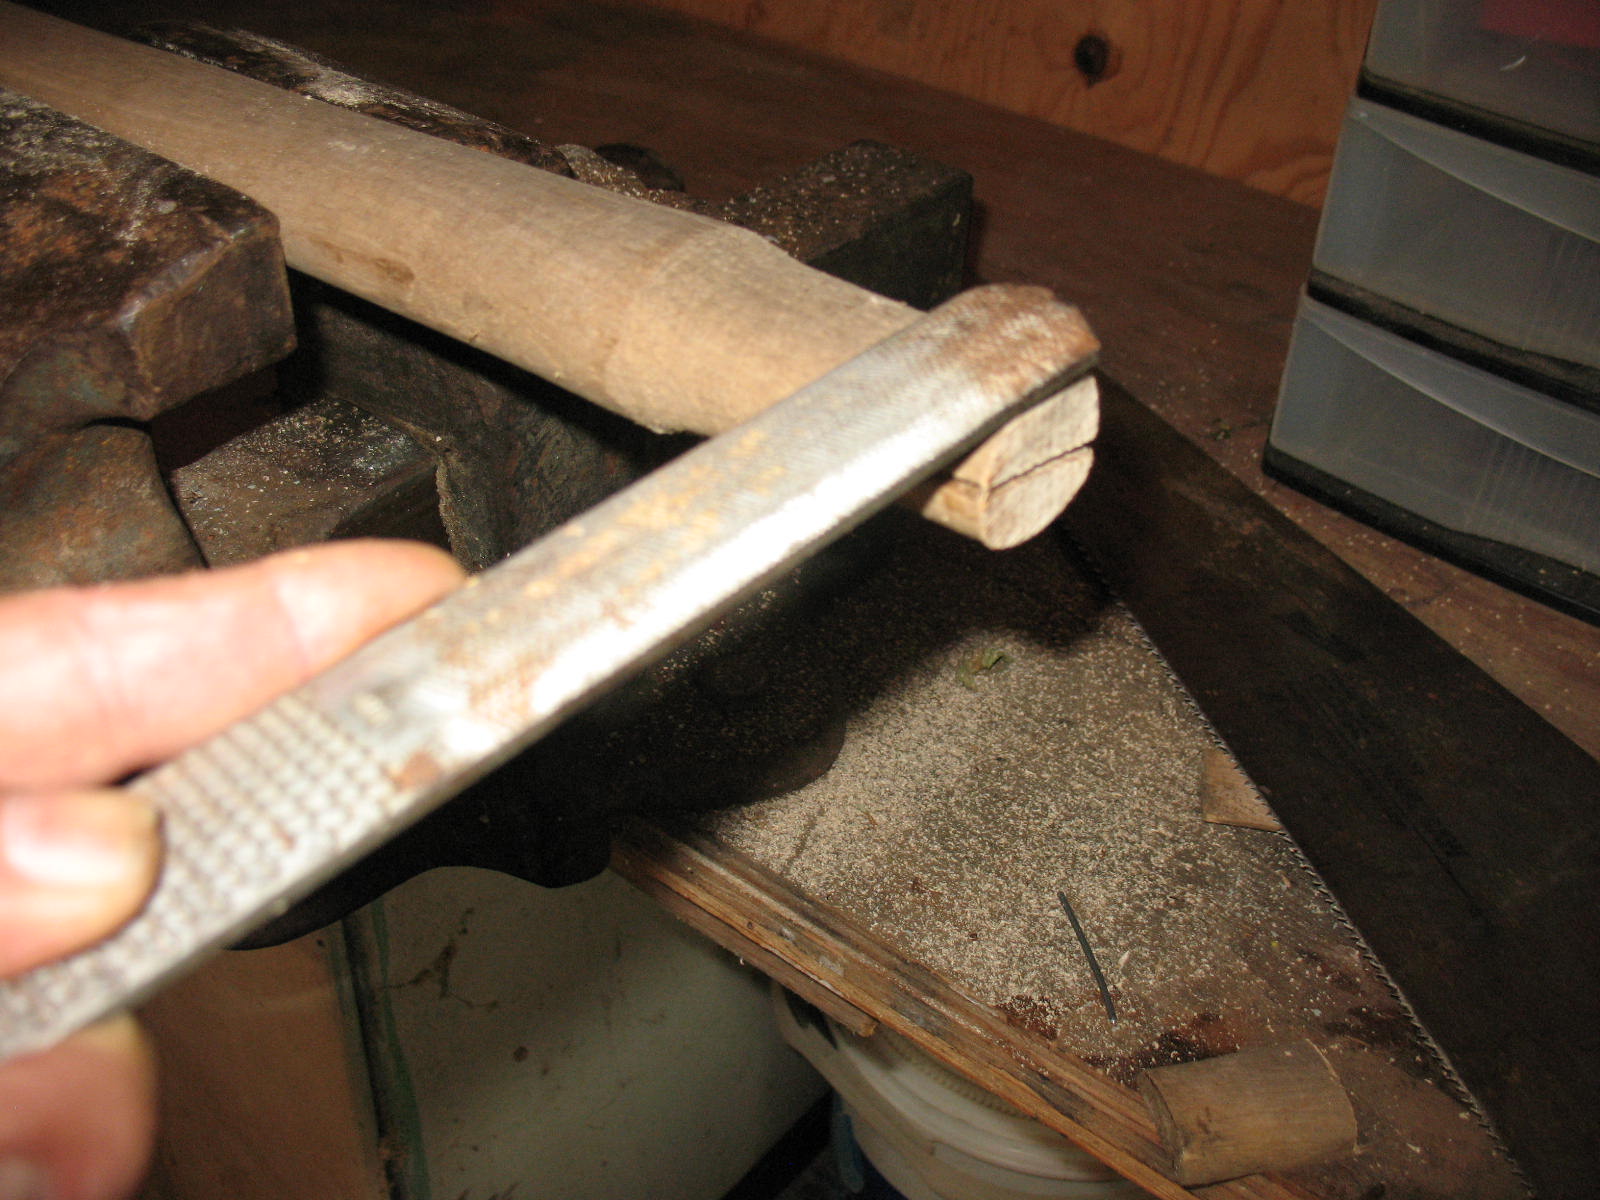


Then I take a hammer and drive the head on a little bit, and then pull it off. You will see darker spots where the wood has been compressed when driving the head on. Rasp very lightly on these areas and then continue rasping down another half-inch. Drive the head on, pull it off, rasp a little more, etc, etc, etc. It takes a while, but it will insure that you have a good tight fit.

When you have the head seated down tightly on the handle, it is time to cut a wedge to drive into the slot. Hickory is best for this. You may be able to use the portion that you cut off of the top of the handle to make a wedge. If not you can use oak or even pine. When cutting the wedge make sure that it has a smooth taper and is not too wide at the top. You want the wedge to contact the sides of the slot all the way down. If the wedge is too wide, and tapers down too quickly; it will only be touching the slot at the top, and it will pop out during use.
I like to coat my wedges with carpenter’s wood glue before I drive them in.

When you drive the wedge in, place a small board on top of it and use your hammer on the board. If you hammer directly on the wedge it will likely split.

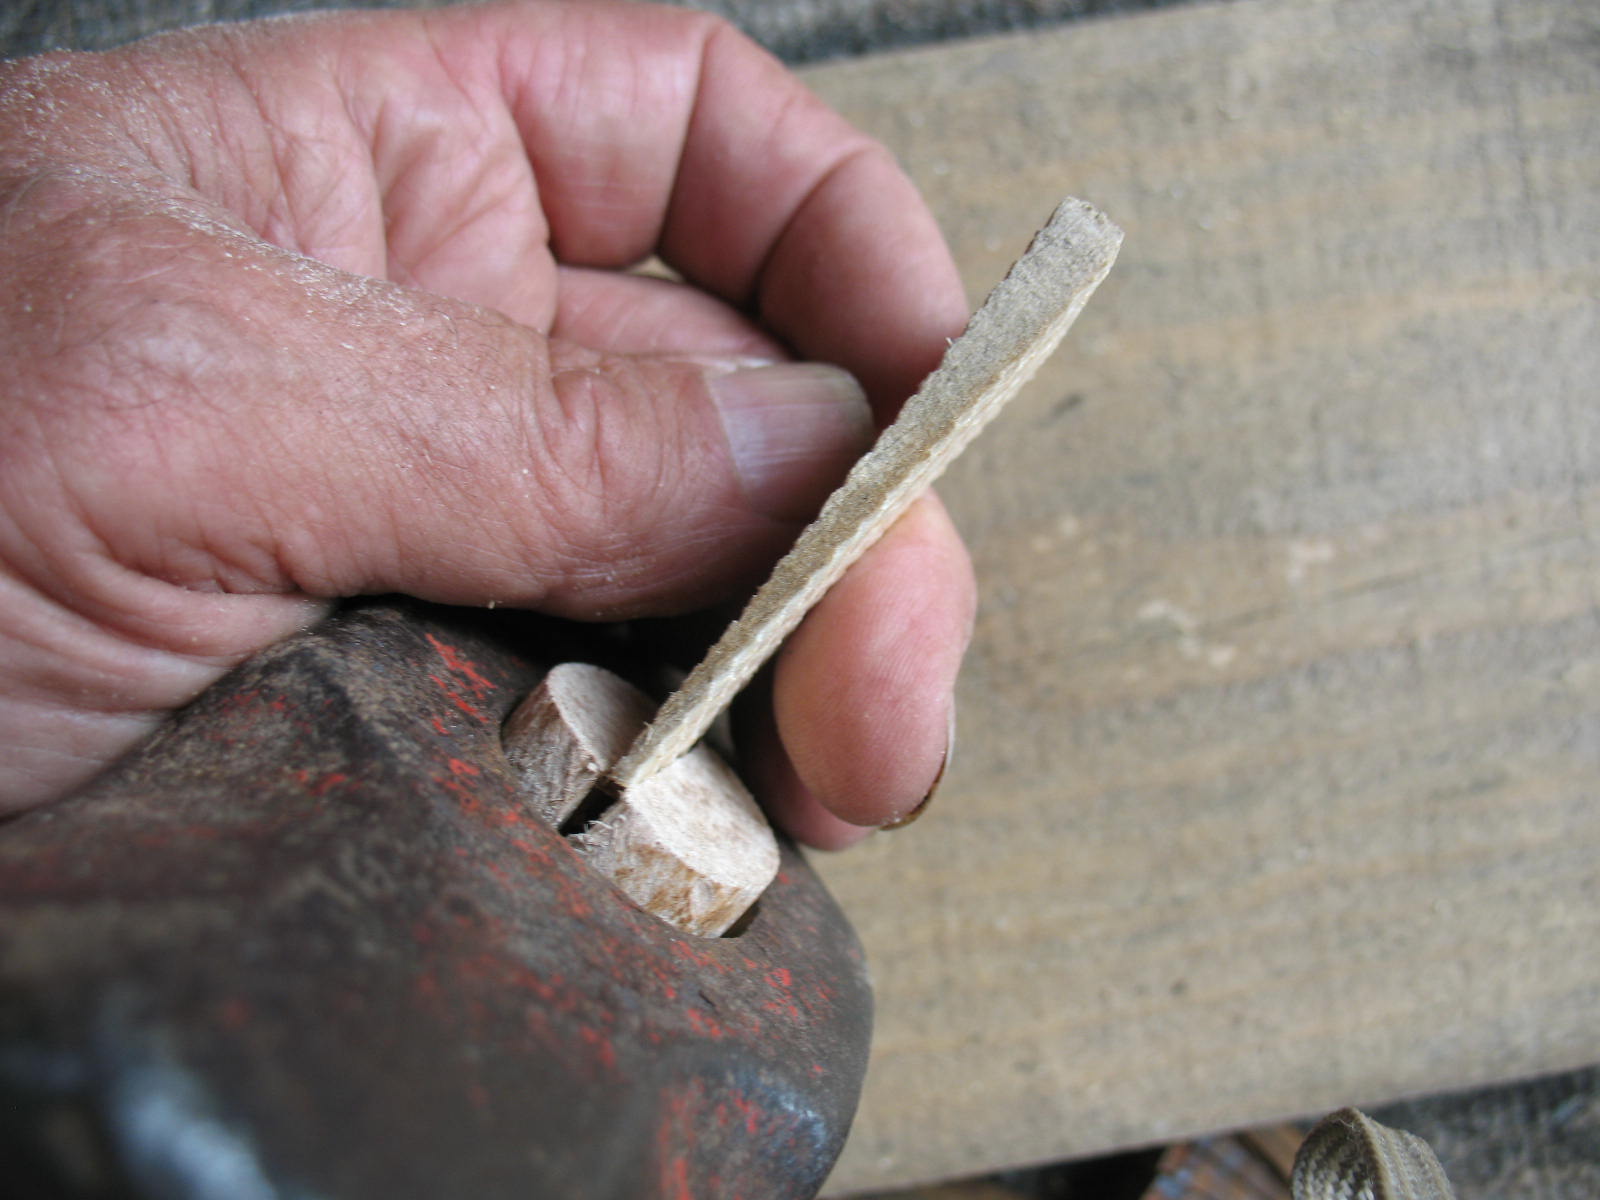
When you have the wedge firmly seated you can cut off the excess wedge and handle so they are flush with the top of the head.
The last step is to drive the little steel wedge into the top of the handle. It should be in the center of the handle and perpendicular to the wooden wedge.
Set the sledge aside for a day so that the glue on the wedge can dry thoroughly and you should be good to go for a few more years. Oh, and be sure too keep that old handle. At some point in the future you can cut it down and use it on something else that breaks.


Given that you have to replace the handle every so many years, would it be helpful to get a piece of iron pipe about 3-4 inches long that could be heated and bent to fit the area of the handle just below the head? That should then be taking most of the force that was formerly chewing up the handle near the head. I myself do not know the answer to this, I just offer it as something to think about. (By the way, I really enjoy your articles and the learning that they impart.)
Given that you have to replace the handle every so many years, would it be helpful to get a piece of iron pipe about 3-4 inches long that could be heated and bent to fit the area of the handle just below the head? That should then be taking most of the force that was formerly chewing up the handle near the head. I myself do not know the answer to this, I just offer it as something to think about. (By the way, I really enjoy your articles and the learning that they impart.) As an after thought, (Could the collar be welded to the head to also help prevent a missed blow from transferring the force to the wood below?)
Jim,
I actually knew a guy that used to wrap a cut tin can around his axe handle right below the head. I can’t remember how he attached the tin. Maybe a screw. Don’t know if that would weaken the handle or not. Probably need to give it a try. The older I get, the more I miss.
Hank