Making Arrow Fletchings from Whole Feathers
The purpose of putting a fletching on the back of an arrow is to create drag on the back end of the arrow. If the back of the arrow wants to move slower than the front of the arrow, the arrow will fly straight. Anything that will cause the back of the arrow to come into friction with the surrounding air will create the necessary drag to make the arrow fly straight. I have made survival arrows that are fletched with leaves, duct tape, paper, small whole feathers, and all sorts of other weird things. Of course the traditional fletching for arrows is a split feather, called a vane, which is glued and or tied to the arrow shaft. Almost any feather will do if it is large enough. Native Americans used the feathers of eagles, hawks, owls, and turkeys. The English preferred goose feathers. These days, most primitive archers use turkey feathers for fletchings. Eagle, hawk, and owl feathers can get you into serious trouble with the law, so stick with turkey feathers.
This is the procedure that you follow in order to turn a turkey feather into a usable fletching.
First take a look at the feather, especially the quill in the center of the feather. On the front of the feather the quill is rounded. On the back of the feather the quill has a groove down the center. Pictured below: top, front of turkey feather; bottom, back of turkey feather showing the groove down the center.

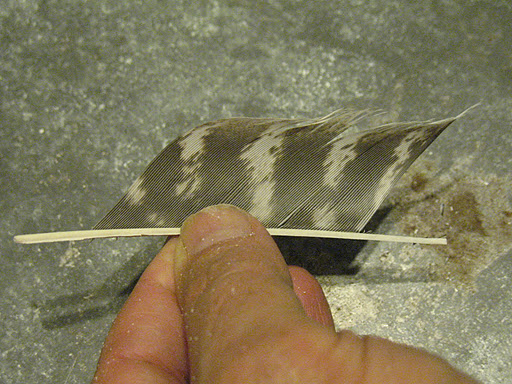
Now turn the feather so that the front is laying face up. Use one hand to hold the feather in place, and use a sharp knife, blade held ninety degrees to the quill, and begin gently scraping of the rounded crown of the quill. Scrape all the way down the quill. As you scrape the dark outer surface away, you will begin to see the underlying white pith. Stop scrapping before you get into the actual feathers themselves. Pictured below: scraping the crown off of the quill.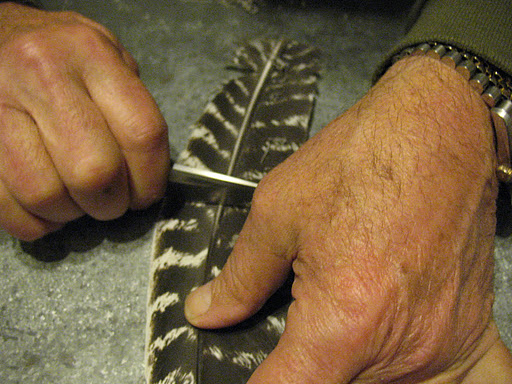
Now take the butt of your knife handle and gently tap along the entire length of the quill. Turn the quill over and tap along the entire length of the back side. The quill should begin to separate down the middle where the groove is located on the back. Pictured below: tapping the quill with knife butt.
You may have to take your knife point to the base of the quill and help it start splitting apart. Pictured below: Using the knife to start a split in the base of the quill.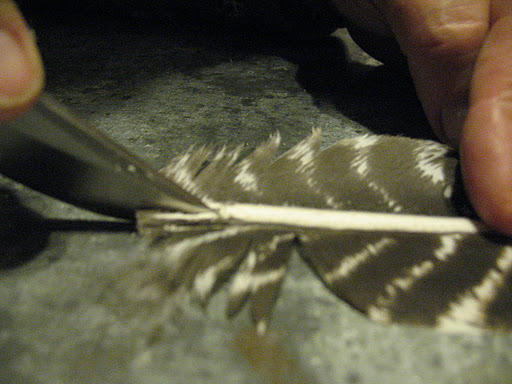
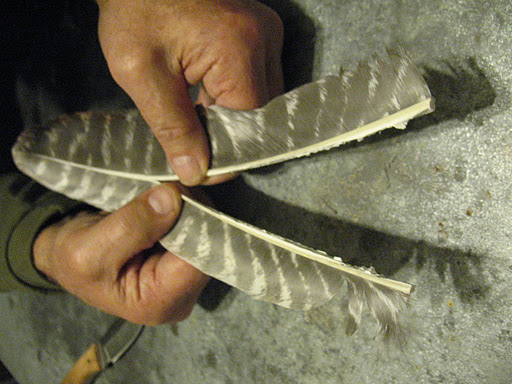
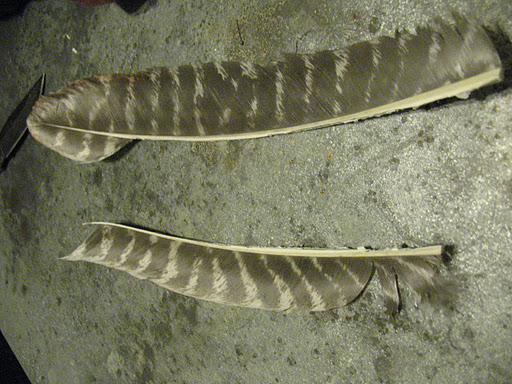
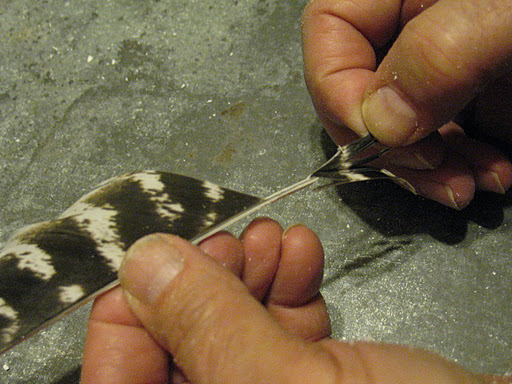
Once the quill starts to split you can use your fingers to gently seperat the two halves. You should now have two separate vanes that can be used for fletchings. Pictured below: top and middle, splitting the quill; bottom, separated vanes. 
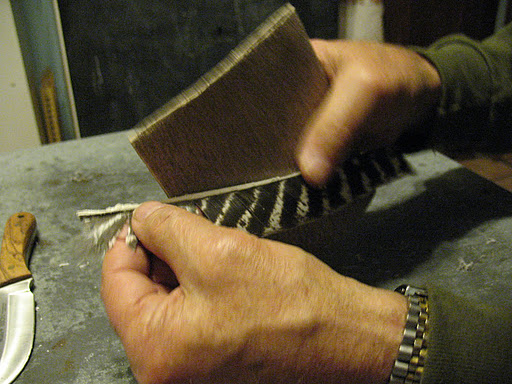
The quill part of the fletching will probably be thicker than you want. Fix this by scrapping with your knife or rubbing gently with sandpaper. Pictured below: top, scraping the quill with a knife; bottom, sanding the quill.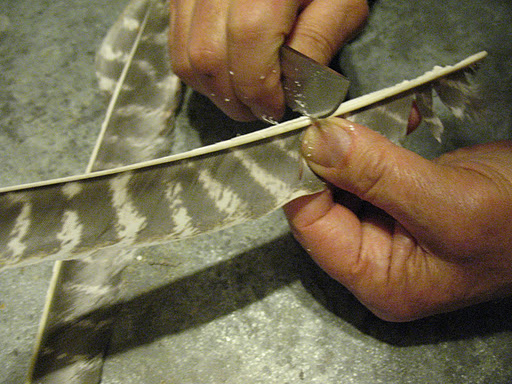
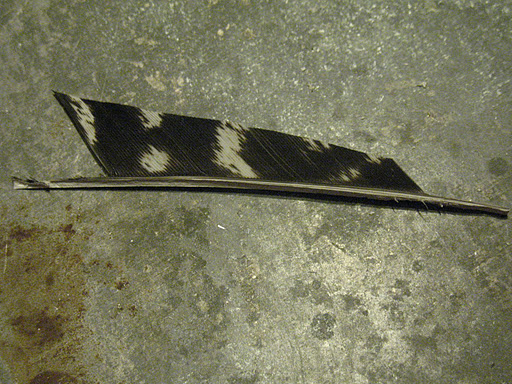
I usually make my finished fletchings about four inches long. Since I tie the fletching on with deer sinew, there needs to be about three-quarters of an inch of bare quill on the front and back ends of the fletching. So, I cut may fletchings about five and a half inches long and then strip of three-quarters of an inch of feather on each end. Pictured below: top, cutting the vane to length; middle, stripping feathers from the vane; bottom, vane ready to trim or attach to arrow shaft.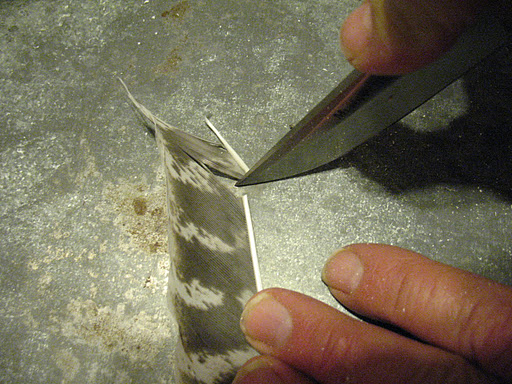
The fletching can be trimmed to shape before attachment to the shaft, but I find the it is easier and that the results are more consistent if I trim the final shape after the fletchings are attached to the arrow shaft. Pictured below: top, trimming vane; bottom,trimmed vane.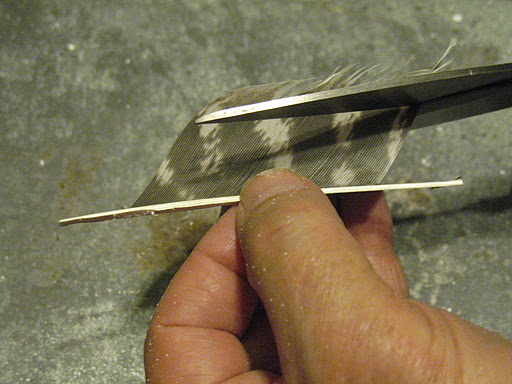

Found your article in backwoodsman my grandmother was native American and we make our cane arrows almost exactly as you do your arrows I promise I love your blog and will fallow it loyaly good info good writing skills teaching my children the native ways
Thank you for your kind comment, and I applaud you for teaching your children. The old ways should never be forgotten and it is our responsibility to see that the next generations know of them.
Hank
Great tutorial and pics, thx!
Very clear and simple. Pictures are very helpful. Good job on cutting the fluff and jibjab. Anyone who’s ready to read and learn this stage should already know the information you left out. Thank you.
Long live the brotherhood of archers and bowyers alike.